Is it Hard to Restore a Wooden Bench?
Restoring a Wooden Bench: A Labor of Love
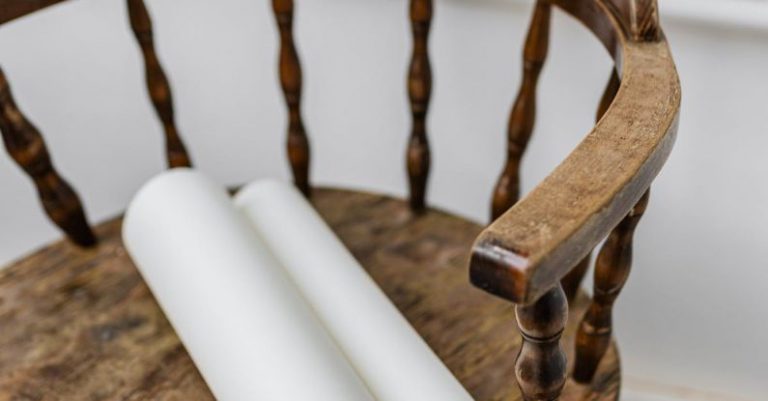
Restoring a wooden bench can be a rewarding project that brings new life to an old piece of furniture. Whether you have a sentimental attachment to a weathered bench or you simply enjoy the process of reviving worn-out items, the task of restoration may seem daunting at first. However, with the right tools, materials, and a bit of elbow grease, you can transform a tired wooden bench into a beautiful and functional piece that will last for years to come.
Assessing the Damage
Before diving into the restoration process, it is essential to assess the condition of the wooden bench. Take a close look at the wood for any signs of damage such as cracks, splinters, or rot. Check the stability of the bench legs and arms to ensure they are sturdy and secure. Understanding the extent of the damage will help you determine the level of restoration needed and the time and effort required to complete the project.
Stripping the Bench
The first step in restoring a wooden bench is to strip away any existing finish or paint. This can be done using a chemical stripper, sandpaper, or a combination of both. Chemical strippers are effective in removing old finishes, but they can be harsh and require proper ventilation and safety precautions. If you prefer a more natural approach, sanding the bench by hand or with a power sander can also achieve the desired result.
Repairing and Replacing
Once the bench is stripped down to bare wood, it is time to address any damage that may be present. Fill in cracks and holes with wood filler and sand the surface smooth for a seamless finish. If the wood is severely damaged or rotted, you may need to replace certain sections or components of the bench. This can involve cutting new pieces of wood to size and securely attaching them to the existing structure.
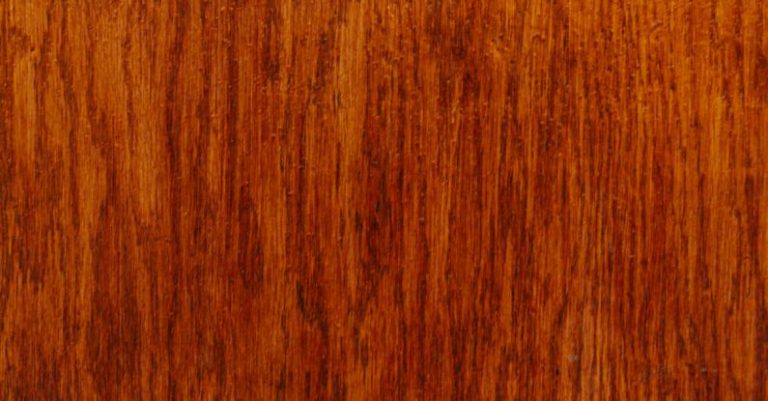
Staining and Sealing
After the repairs are complete, it is time to add color and protection to the wooden bench. Staining the wood not only enhances its natural beauty but also provides a layer of defense against the elements. Choose a stain color that complements the overall aesthetic of the bench and apply it evenly with a brush or rag. Once the stain has dried, seal the wood with a clear coat of varnish or polyurethane to protect it from moisture, UV rays, and everyday wear and tear.
Finishing Touches
The final step in restoring a wooden bench is adding the finishing touches that make it truly stand out. Consider replacing old hardware such as screws and bolts with new ones to ensure the bench is secure and stable. You can also add decorative elements such as cushions, pillows, or a coat of paint to personalize the bench and make it your own. Don’t forget to regularly maintain the bench by cleaning and resealing it to prolong its lifespan and keep it looking its best.
In Conclusion: A Labor of Love
Restoring a wooden bench may require time, patience, and effort, but the end result is well worth the investment. By following the steps outlined above and approaching the project with care and attention to detail, you can breathe new life into an old bench and create a piece of furniture that will be cherished for years to come. So, roll up your sleeves, grab your tools, and get ready to embark on a rewarding journey of restoration and transformation.