What’s Required for a Vintage Dresser Revamp?
When it comes to revamping a vintage dresser, there are a few key elements that can take it from drab to fab. Whether you’ve inherited a worn-out piece or found a diamond in the rough at a thrift store, giving new life to a vintage dresser can be a rewarding and creative project. By incorporating the right tools, materials, and techniques, you can transform an old dresser into a stunning statement piece for your home. Here’s what you need to know to achieve a successful vintage dresser revamp.
Choosing the Right Dresser
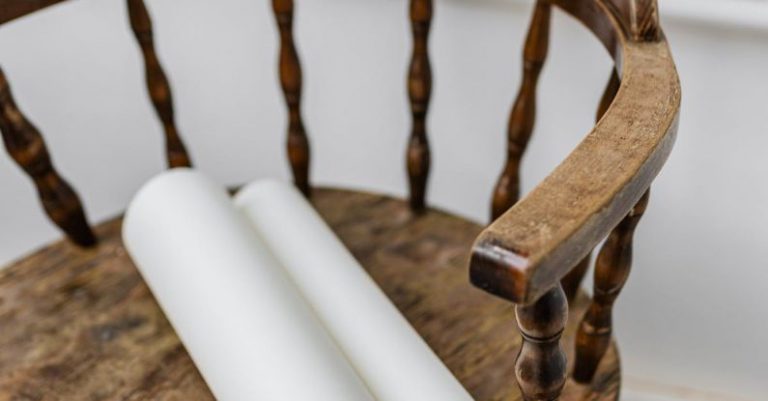
The first step in revamping a vintage dresser is selecting the right piece to work with. Look for a dresser with good bones and sturdy construction. Pay attention to the overall design, shape, and size of the piece to ensure it fits your aesthetic preferences and space requirements. Keep an eye out for unique details, such as ornate hardware, intricate carvings, or interesting drawer configurations, that can add character to the finished product. Remember that imperfections like scratches, dents, or chipped veneer can often be repaired or disguised with the right techniques, so don’t be deterred by minor flaws.
Preparation and Cleaning
Before diving into the revamp process, it’s essential to properly prepare and clean the dresser. Start by removing any hardware, such as knobs or drawer pulls, and set them aside for later. Thoroughly clean the dresser with a mild detergent or wood cleaner to remove dirt, grime, and old finishes. If the dresser has a glossy finish, you may need to sand it lightly to create a rough surface for better paint adhesion. Fill any cracks or holes with wood filler and sand the surface smooth for a clean canvas to work on.
Choosing the Right Paint
Selecting the right paint is crucial in achieving the desired look for your vintage dresser revamp. Consider the style and color scheme you want to achieve, whether it’s a classic matte finish, a bold pop of color, or a distressed shabby chic look. Opt for high-quality furniture paint that is durable, low in VOCs, and suitable for the material of your dresser. Chalk paint is a popular choice for vintage furniture revamps due to its matte finish and ease of use. Experiment with different paint techniques, such as distressing, antiquing, or stenciling, to add depth and texture to the dresser’s surface.
Hardware and Finishing Touches
Once the dresser has been painted to your liking, it’s time to reattach the hardware or upgrade it with new knobs, pulls, or handles for a fresh look. Consider mixing and matching hardware styles for a unique and eclectic vibe. To protect the painted finish and add durability, apply a clear sealant or wax to the dresser. This step will also enhance the color and sheen of the paint while providing a protective barrier against daily wear and tear.
Styling and Placement
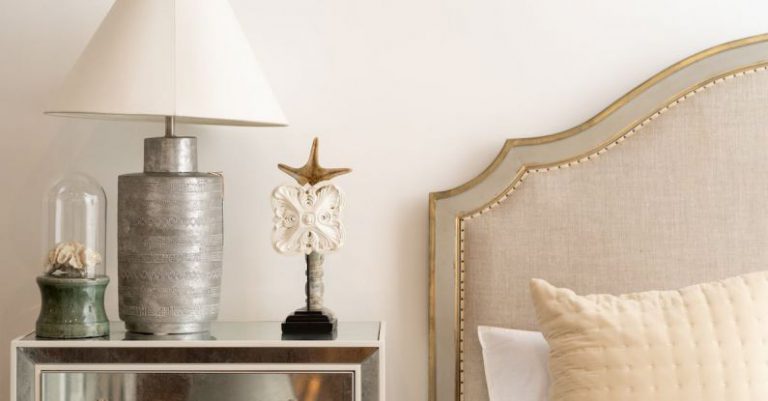
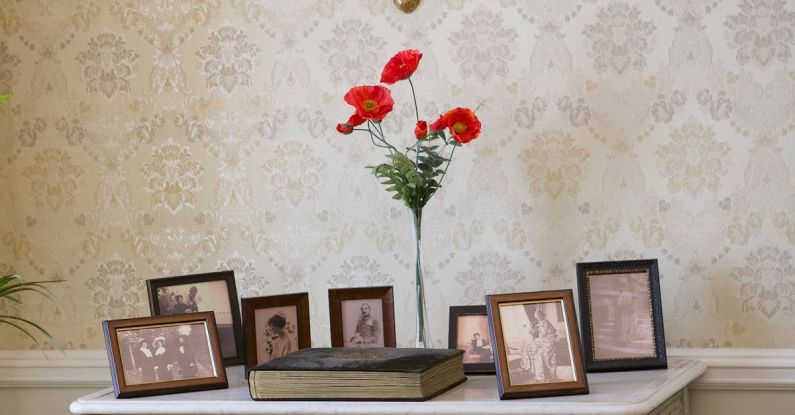
After completing the revamp process, style your vintage dresser with decorative items, such as vases, candles, picture frames, or a statement mirror, to showcase its newfound charm. Consider the dresser’s placement in your home and how it complements the surrounding decor. Whether used in a bedroom as a statement piece or in a living room for extra storage and display space, a revamped vintage dresser can elevate the aesthetic of any room.
In conclusion, revamping a vintage dresser requires careful consideration of the dresser’s condition, the selection of the right tools and materials, and the execution of creative techniques to achieve a stunning transformation. By following these key steps and infusing your personal style and flair, you can breathe new life into an old piece of furniture and create a unique and beautiful addition to your home.